
In previous articles, we covered a local LLM on the Mac, an image generation environment, communication with the VPS, and job management across multiple workers.
Finally, we tie all of these together and build a system that registers article bodies and featured images into Payload CMS.
In the initial stage, nothing is published automatically.
Content created by local generative AI is saved to Payload CMS as a draft, and a human reviews it before publication.
Overall Processing Flow
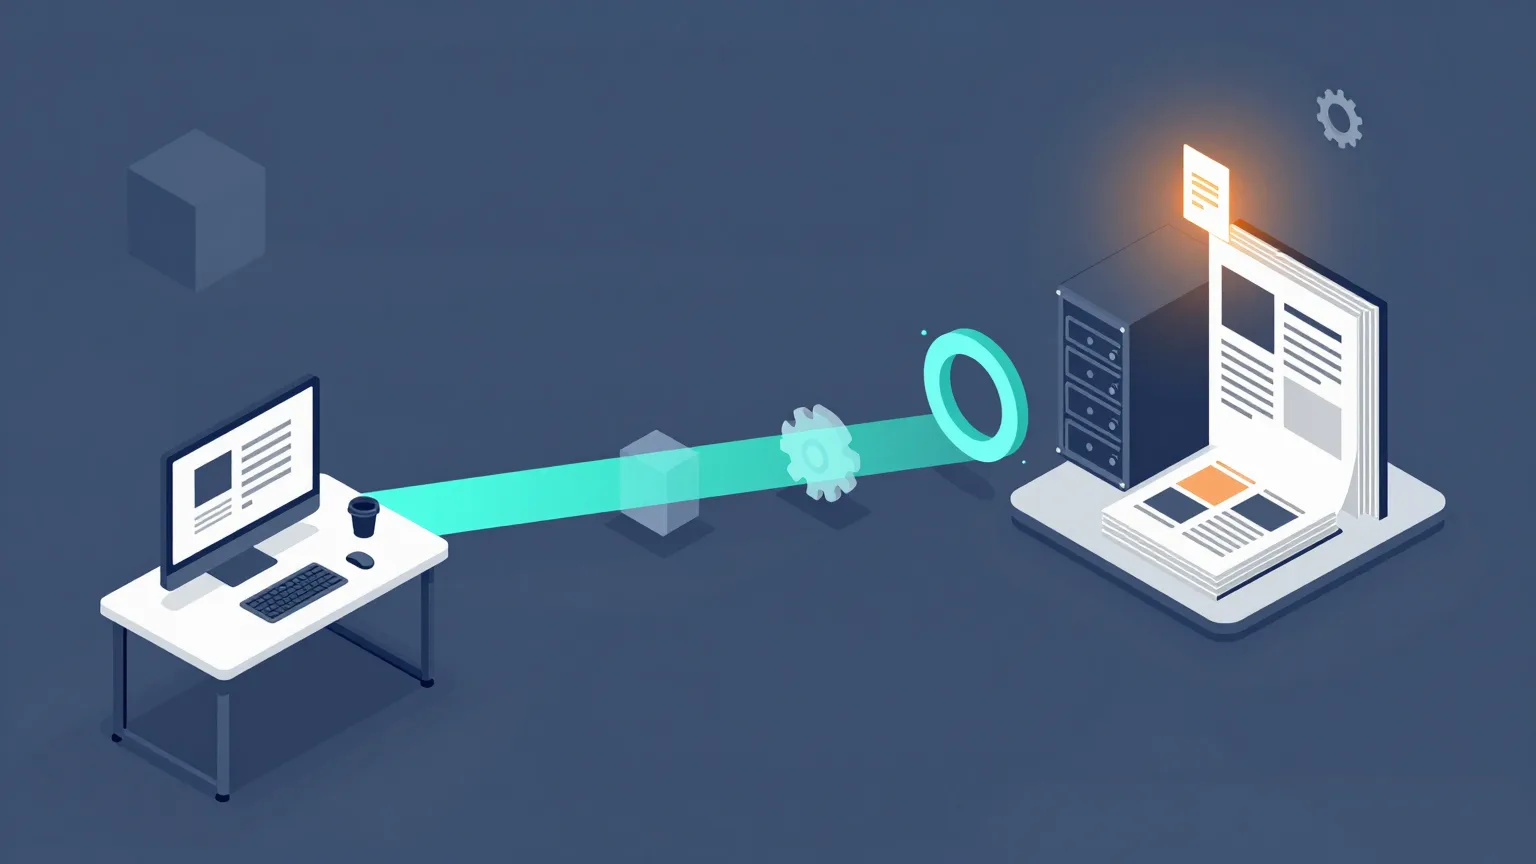
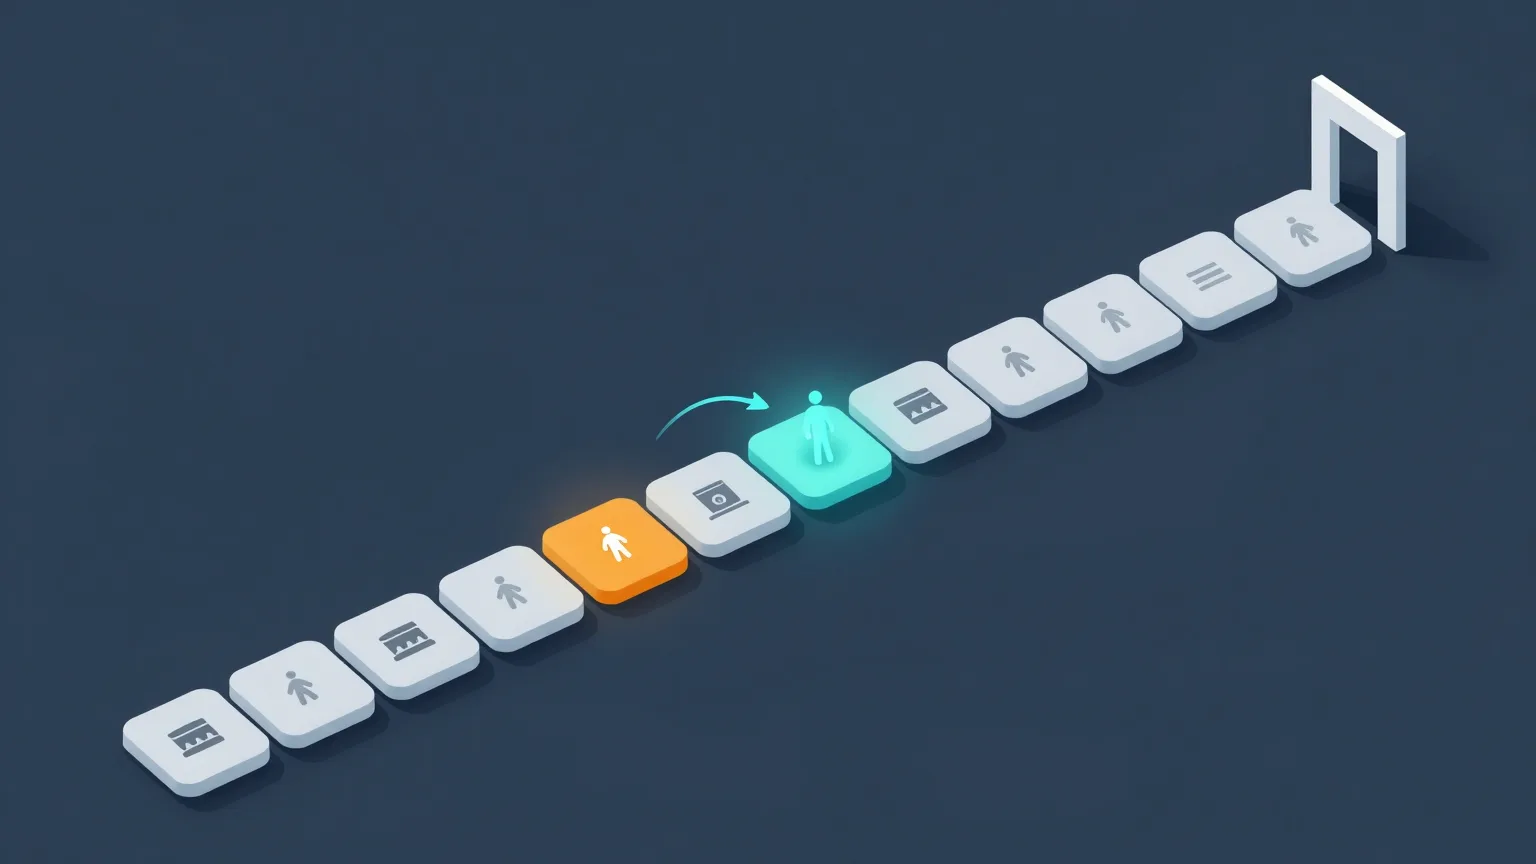
The flow from article generation to Payload registration is as follows.
- Register an article generation job on the VPS
- A Mac worker picks up the job
- Create the article outline with the local LLM
- Generate the body text with the local LLM
- Create an image generation prompt
- Generate the featured image with ComfyUI
- Return the article and images to the VPS
- The VPS validates the content
- Register the images in Payload's media collection
- Register the article as a draft
- A human reviews the content
- Publish if there are no problems
The Mac side handles generation, while registration to Payload and publication decisions are centralized on the VPS side.
Why Not Register Directly to Payload from the Mac

You could send articles directly to the Payload API from the Mac.
However, that would require storing Payload credentials on each Mac.
Returning generation results to the VPS first has the following advantages.
- Payload credentials can be managed on the VPS alone
- The Mac's role can be limited to generation
- Pre-registration validation can be centralized in one place
- Retries on failure are easier to manage
- Adding workers in the future is easier
- The publishing flow is easier to change
The Mac only holds a worker API key, needed for fetching jobs and returning results.
Don't Complete Article Generation in a Single Pass

If you give an LLM a single instruction to "write an article," the structure may turn out unstable or required elements may be missing.
So we split article generation into multiple stages.
1. Organizing Article Requirements
From the input theme, we organize the following.
- Target readers
- Readers' questions
- Purpose of the article
- Content to include
- Content to exclude
- Writing style
- Target length
- Notes and caveats
2. Creating the Heading Structure
Before generating the article body, we create the heading structure.
At this stage, you can check for duplicated or missing content.
3. Generating the Body Text
The body is generated along the finalized heading structure.
For long articles, processing section by section rather than generating the whole thing at once is another option.
4. Proofreading and Formatting
After generation, we check the following.
- Whether the same explanation is repeated
- Whether the headings and body match
- Whether there are any unnatural expressions
- Whether it follows the specified writing style
- Whether the conclusion is vague
- Whether the necessary caveats are included
That said, fact-checking cannot be completed with a local LLM alone.
A human reviews the content before publication.
Creating an Image Generation Prompt
Rather than sending the article body as-is to the image generation model, we convert it into image-oriented requirements.
The image prompt includes the following.
- Subject
- Scene to depict
- Composition
- Perspective
- Color tone
- Lighting mood
- Background
- Intended use of the image
- Aspect ratio
- Elements to avoid
For example, for an article about a local LLM, instead of simply instructing "Mac and AI," we craft a composition that fits the article's content.
Here is an example of the direction.
A MacBook Pro and a Mac mini on a desk, both connected to a server on the network. An abstract flow of light visualizing local AI processing. A realistic, clean, technology-themed composition. Suited for a wide blog featured image. No text in the image.
Text within images tends to get distorted, so we basically avoid generating it.
If title text is needed, it is composited in a separate step after generation.
Generating Multiple Candidates

Instead of generating just one image, we create multiple candidates.
For example, generate three or four and select the one to use.
In the initial stage, a human makes the selection.
In the future, we could add a mechanism to judge the technical quality of images, but fully automating judgments about fit with the article's content or aesthetic preference is difficult, so we don't force full automation.
Validating on the VPS Side

Once the results are received from the Mac, the VPS checks their format.
For articles, the following are validated.
- Whether a title exists
- Whether the body is non-empty
- Whether the length is not extremely short
- Whether required headings are present
- Whether invalid HTML is included
- Whether there are any unauthorized external scripts
- Whether the job ID matches
For images, the following are validated.
- Whether the file format is allowed
- Whether the file size is within the limit
- Whether the image is not corrupted
- Whether the resolution is within the specified range
- Whether the aspect ratio is as expected
- Whether the filename is safe
If validation fails, nothing is registered to Payload and the job is marked as errored.
Registering Images in Payload's Media

Once image validation is complete, the images are registered in the Payload CMS media collection.
At registration, the following information is saved along with the image file.
- Alt text
- Caption
- Generation model
- Generation date and time
- Source article job ID
- Prompt used
- Intended use of the image
- Human review status
Not all generation metadata needs to be displayed on the public site.
However, keeping it as internal metadata makes it easier to investigate problems later.
Registering the Article as a Draft
After the images are registered, the article is saved to Payload.
The article data includes the following.
- Title
- Slug
- Summary
- Body
- Featured image
- Category
- Tags
- SEO title
- Meta description
- Source job ID
- Model used
- Generation date and time
- Review status
- Publication status
The publication status is set to draft.
It is important that articles created by local AI are never automatically switched to published.
What Humans Check

In the Payload admin panel, we check at least the following.
- Factual accuracy
- Product and feature names
- Numbers and dates
- Citations and references
- Awkward phrasing
- Redundant expressions
- Content that could mislead readers
- Consistency between images and the article
- Unnatural parts of the images
- Licensing terms for models and materials
- Match between the SEO title and the body
After making corrections as needed, a human publishes it.
Handling Errors
Article generation may succeed while only image generation fails.
The reverse can happen as well.
Instead of redoing everything from scratch, we save the state at each processing stage.
For example, we divide it as follows.
- requirements_completed
- outline_completed
- article_completed
- image_prompt_completed
- image_completed
- uploaded
- payload_draft_created
If earlier stages succeeded, you can resume from the failed stage.
This reduces the waste of regenerating long articles over and over.
Is Fully Automated Publishing Necessary?
Technically, it is possible to generate articles and images and publish them automatically as-is.
However, we do not adopt this in the initial operation.
The reasons are as follows.
- It may contain misinformation
- It may present outdated information as fact
- It may invent features or specifications that do not exist
- Images may look unnatural
- Licenses and rights need to be verified
- It may lower the quality of the site as a whole
The goal of automation is not to eliminate human review entirely.
It is to reduce the preparation required for article creation and create a state where humans can focus on reviewing and editing.
The Final Configuration
The final setup looks like this.
管理画面・自動処理
        ↓
ConoHa VPS
  ・ジョブ管理
  ・PostgreSQL
  ・認証
  ・結果検証
  ・Payload連携
        ↑
        │ HTTPSロングポーリング
        │
MacBook Pro / Mac mini
  ・Pythonワーカー
  ・OllamaまたはMLX
  ・ComfyUI
        ↓
記事と画像をVPSへ返却
        ↓
Payload CMSへ下書き登録
        ↓
人間が確認して公開
Conclusion
With an M1 Max MacBook Pro and an M4 Pro Mac mini, you can generate article bodies and featured images locally.
The Mac handles generation, while the ConoHa VPS handles job management, authentication, validation, and Payload integration.
By not exposing any ports at home and having the Mac pull work from the VPS, we achieve both security and operational clarity.
In the initial stage, we adopt the following policies.
- Generate articles in multiple stages
- Create multiple image candidates
- Return results to the VPS once
- Validate the format on the VPS side
- Register as a draft in Payload
- Have a human review before publishing
- On failure, resume from the stage where it stopped
Once this configuration stabilizes, we will continuously record actual generation speed, power consumption, memory usage, failure rates, cost differences versus external APIs, and more.
We plan to compile those results later as a long-term usage review.